
There are three plugins I recommend you install and use.
- Akismet – this anti-comment spam plugin is included in default WordPress installations. Even if you don’t actually take comments, you’ll want Akismet enabled.
- Yoast SEO – a plugin that does several things, all related to the basic and structural SEO of your site and content.
- Sumome – a multi-purpose plugin to grow your mailing list, make social media sharing easy, and much more.
Akismet – Stop comment spam
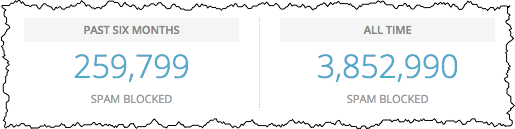
As you might imagine, Ask Leo! is a popular site, and with that popularity comes comment spam – lots of it.
Any site on the web that allows comments is faced with this issue. Surprisingly, even sites that don’t take comments still have to fight off comment spam submitted by bypassing non-existent comment forms and using WordPress’ internal functions and APIs directly.
Akismet is an online service that, when activated and configured, is used by your WordPress installation to filter comment spam. While there are occasional false positives, I’ve found it to be amazingly effective.
In your WordPress dashboard, click on Plugins in the left-hand menu. (If the Akismet plugin is not already activated, be sure to click the Activate link in its entry in the plugin list.)
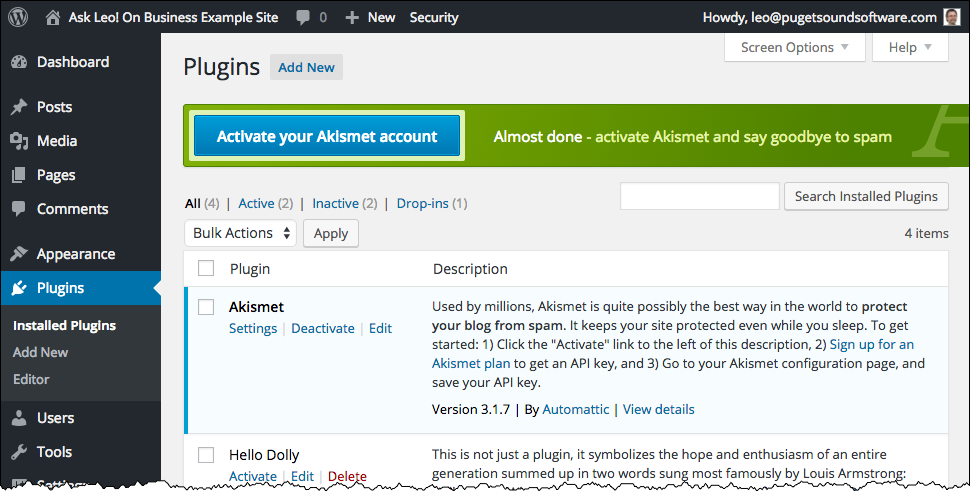
Then click on the big, blue Activate your Akismet Account button above the list. This will open the Akismet configuration for your web site.
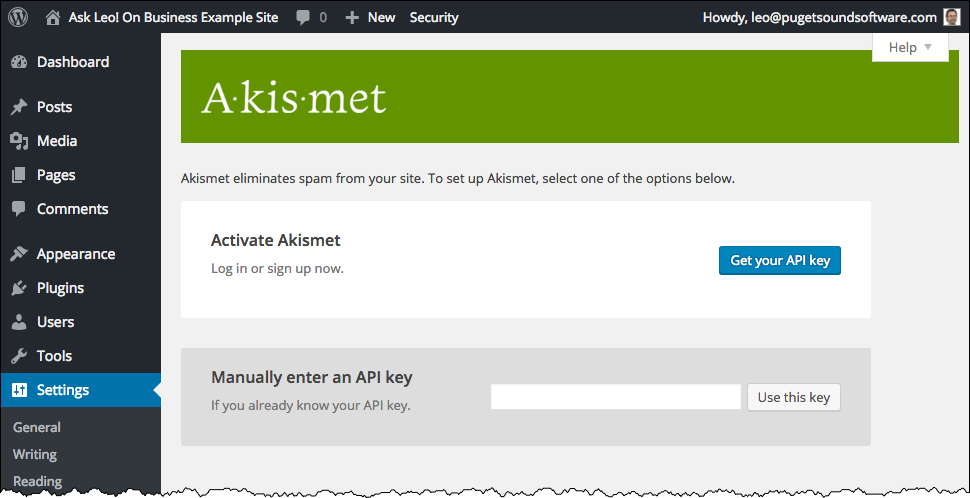
Click on Get your API key to be taken to the Akismet web site. Once there, click on the Get an Akismet API key button that’s present on that page, and you’ll be taken to a a sign-up page to create an account, which will ask for your email address, a user name, and, of course, a password.
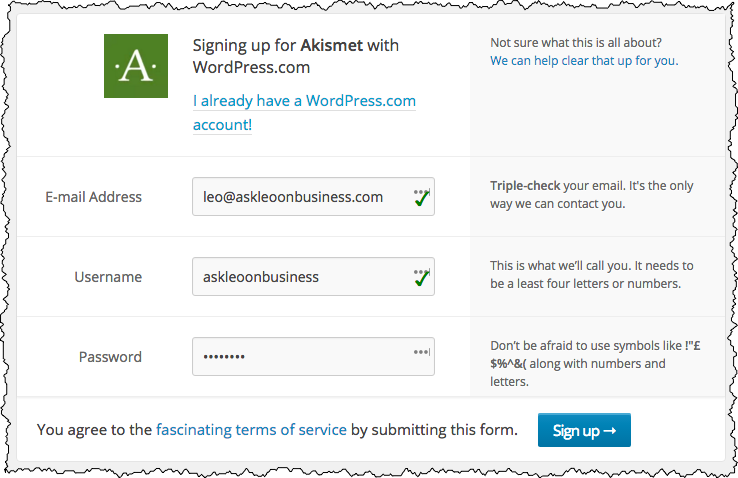
Click on Sign up. You’ll be taken to a page to choose which plan you want. There are several plans, but for now we’ll start with the Basic one.
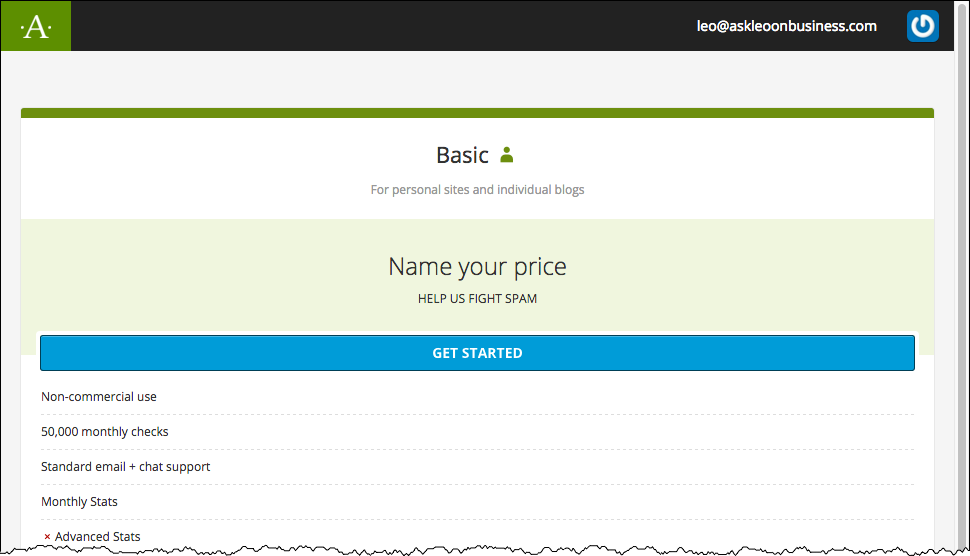
Click on Get Started.
You’ll be taken to a payment page. Don’t worry – the basic plan is a “name your own price” plan, and if you click and drag the pricing slider on the right all the way to the left, the price will drop to zero and the payment fields will disappear, leaving only fields for your name.

As you might expect, given the amount of spam directed at my sites, I pay for a higher-end plan; it’s worth every penny. As your needs change over time, or as you perhaps move to a commercial site, you can always come back and change to one of the paid plans.
Click Continue. Next comes your “account overview”.
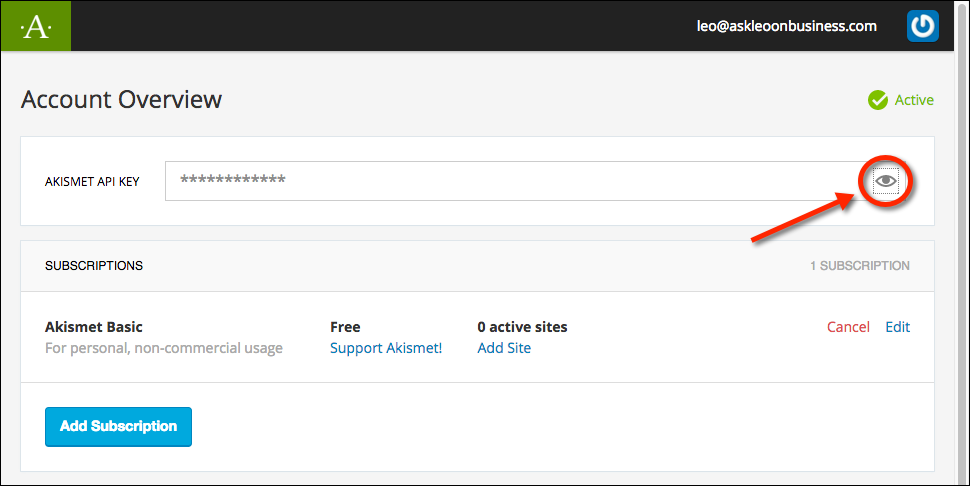
Click on the small “eye” icon to reveal your Akismet API key. Copy it to the clipboard.
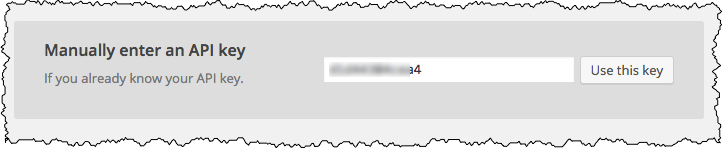
Now return to your website’s administration area (it should still be open in a different tab of your browser) and paste that key into the “Manually Enter an API Key” field. Click on Use this key.
You’ll be shown the Akismet settings page, but there’s nothing that needs to change now. Akismet is active and filtering spam.
Yoast SEO
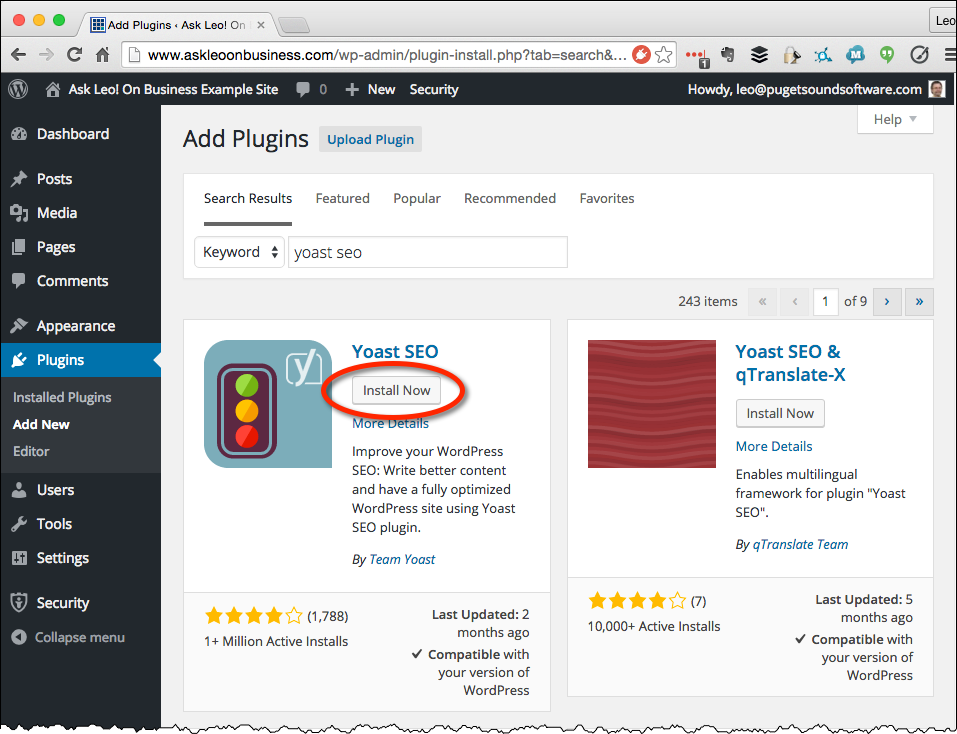
Click on the Plugins item on the left-hand menu, and click on Add New. In the resulting page, use the search field to search for “Yoast SEO”.
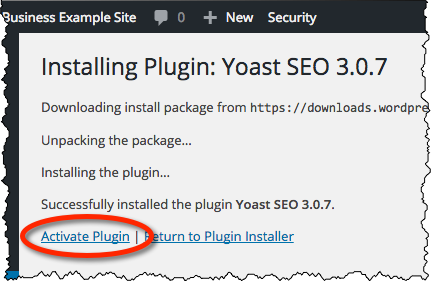
Click on Install Now for Yoast SEO.
After the installation completes, click on Activate Plugin.
The plugin will now appear in the plugin list. Click on Settings for the plugin (not pictured – immediately below the plugin in the list).
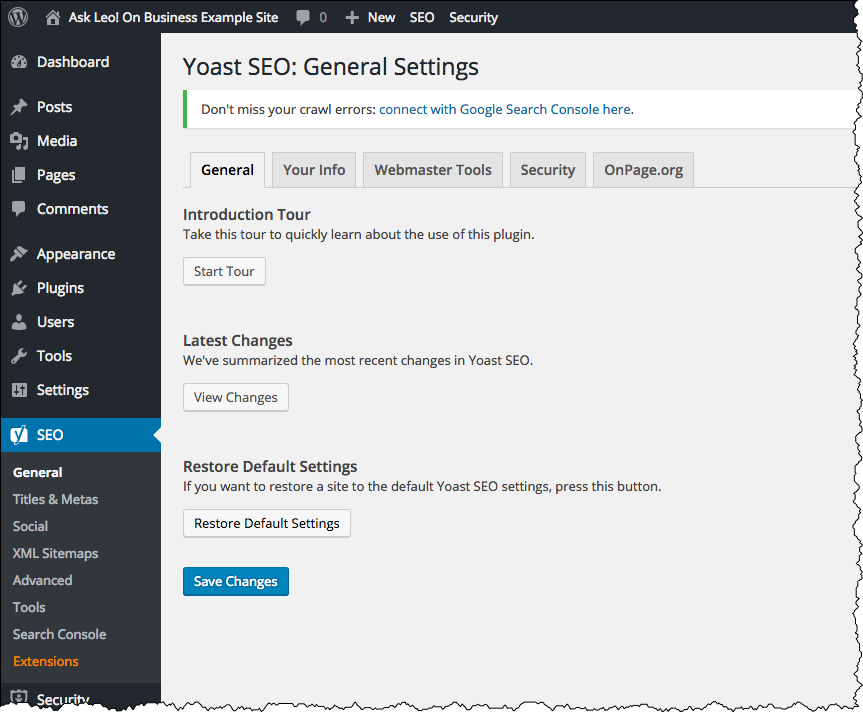
After installing, you may see that there are notices and an offer to take a tour. You can safely dismiss the notices, and bypass the tour for now. As you can see on the Settings page, you can take the tour at any time.
At this point, we’re not going to change any settings. The fact that the plug-in is installed has already added SEO-related information to the pages you publish. You’ll also find that the plugin has added a section to the post-editing page that deals with things you can control as you write.
At some point in the future, you can take the tour to learn what else the plugin provides. Yoast also has a detailed article covering SEO that is well worth the read at some point.
For now, however, we’ll move on. SEO details may become important later, but today our time is better spent elsewhere.
Sumome
Sumome is a free multi-purpose plugin to grow your mailing list, make social media sharing easy, and much more. We’ll use its newsletter sign-up options later, but today we’re going to install it and enable social media buttons.
It varies depending on your audience, of course, but social media – services like Facebook, Twitter, Linked In, and many others – have become exceptionally powerful ways to get your site and your offers noticed. It’s rare, these days, to see websites without some form of social media interaction enabled or promoted.
We’ll use Sumome for multiple things, but we’ll start by installing it and configuring the social media sharing bar to appear on the side of every page on our site.
Once again, in the left-hand menu click on Plugins, and then Add New. In the search box, search for “Sumome”.
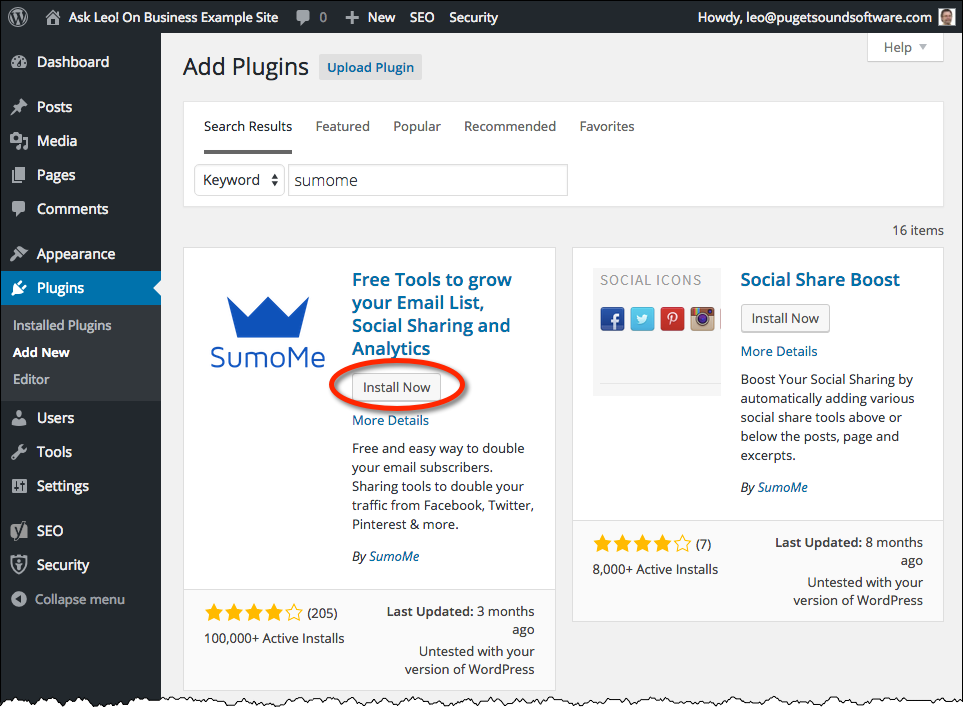
Click on Install Now for Sumome. As before, once the install is complete click, on Activate Plugin.
Sumome uses a slightly different interface for configuration. After the plugin is activated, you’ll see an overlay indicating you should click on the small blue bar in the upper right.
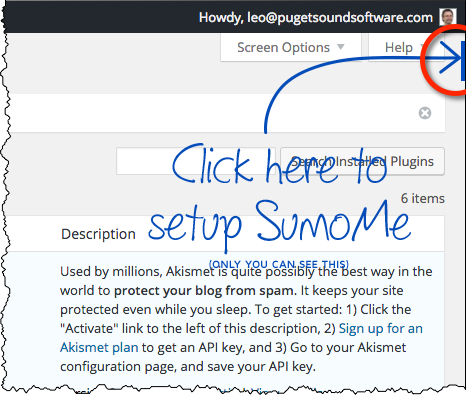
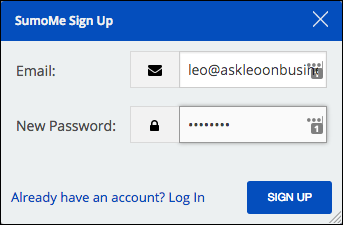
Hover over it and the Sumome “crown” will appear from the right. Click on that. You’ll be asked to create a Sumome account.
After doing so, Sumome will walk you through its approach to adding functionality.
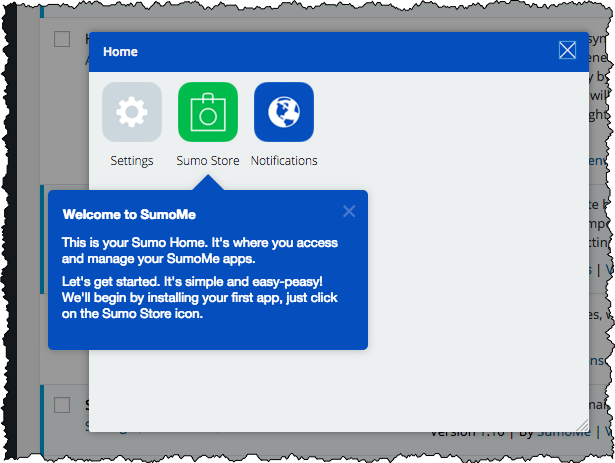
Click on the Sumo Store icon. This is where you’ll return when you’re ready to add new Sumome features and functions.
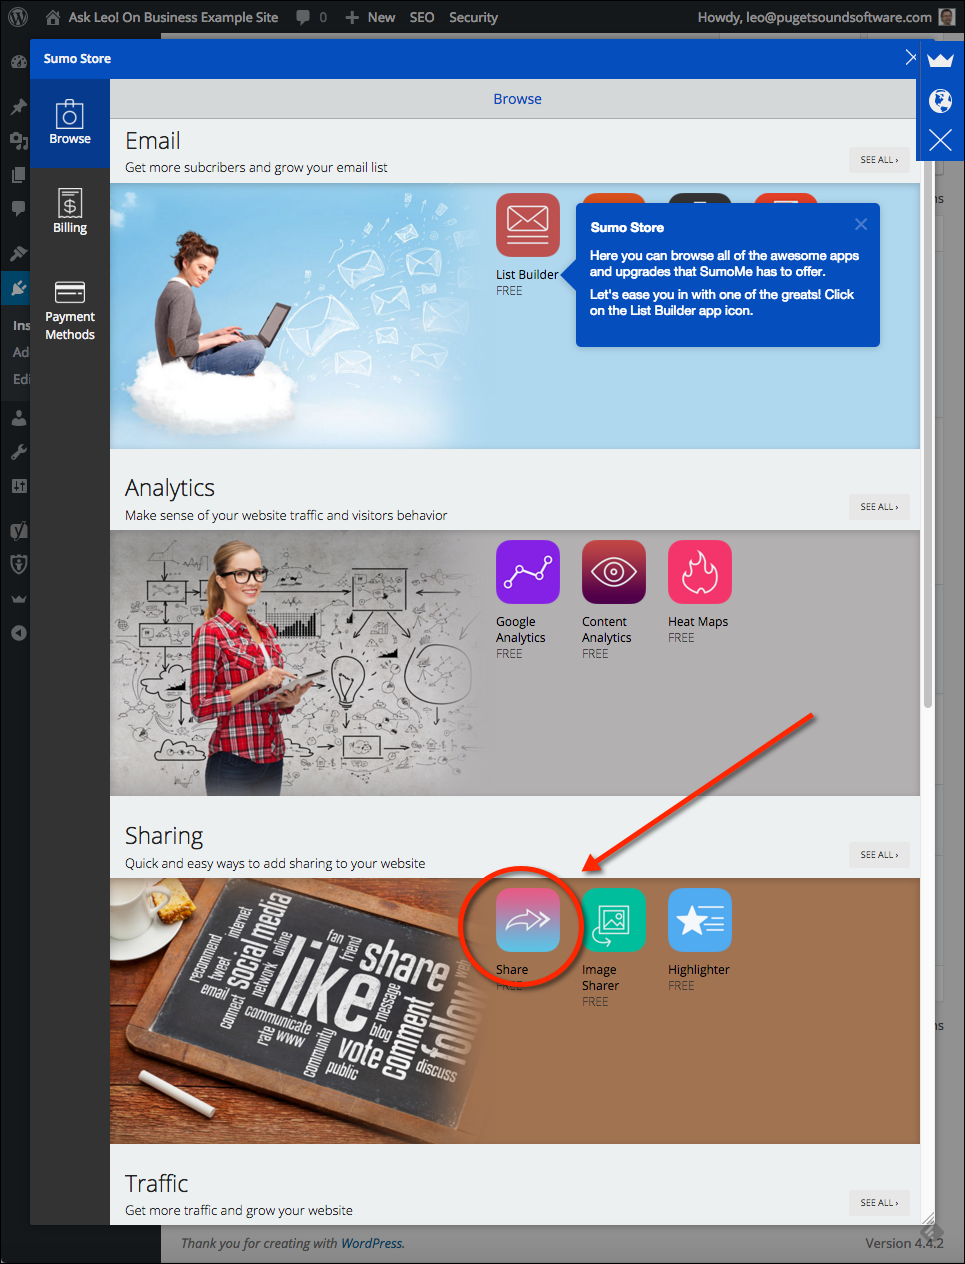
Its initial suggestion is that you add a newsletter sign-up form, using what they call their “List Builder”. We’ll return to List Builder later, after we’ve covered newsletters in future articles. Instead, further down under “Sharing”, click on the Share icon. You’ll be presented with a description of the tool.
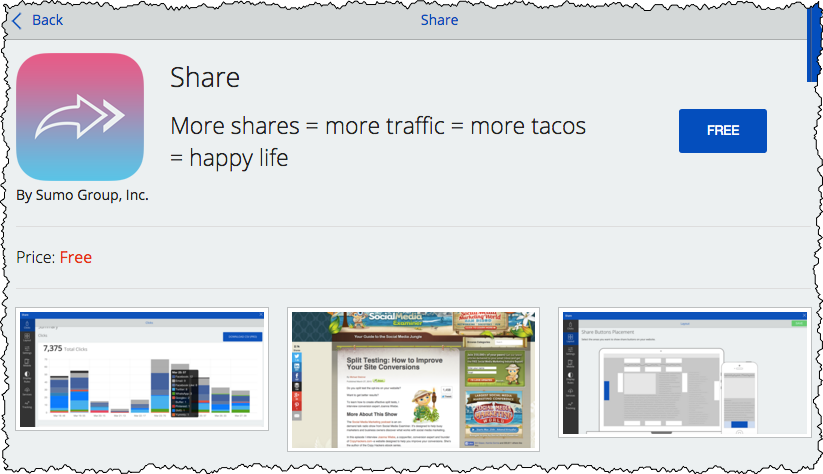
Click on the word FREE to install the Share tool. After installing, “FREE” changes to “OPEN”. Click on OPEN. You’ll be presented with upgrade options. Once again, click on FREE, as that’s all we need.
Next, the Share dashboard is displayed. Off to the left, click on the Settings icon.
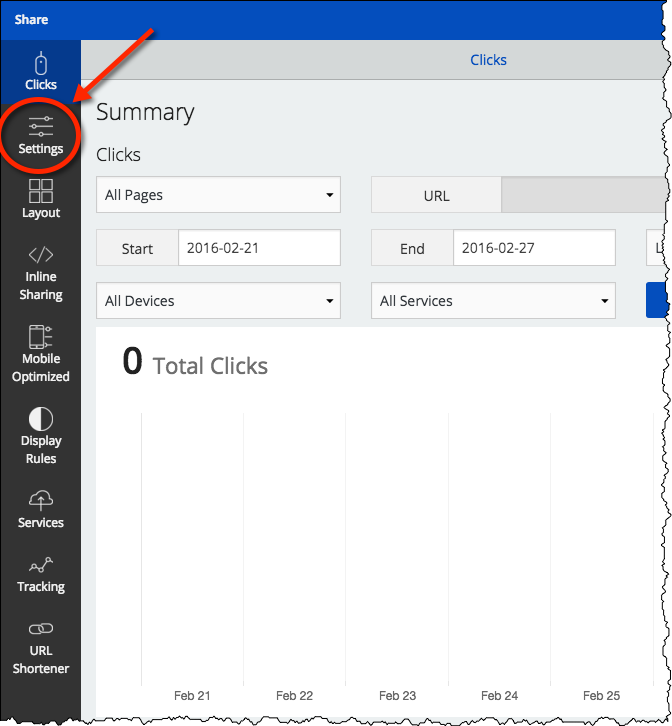
This page controls exactly which of the various social media sites and services you want to have displayed in your sharing bar, and how you want the bar to appear. The settings themselves are fairly self explanatory – I’ll be leaving the defaults here, but you should feel free to experiment to achieve a set and a look that appeal to you.
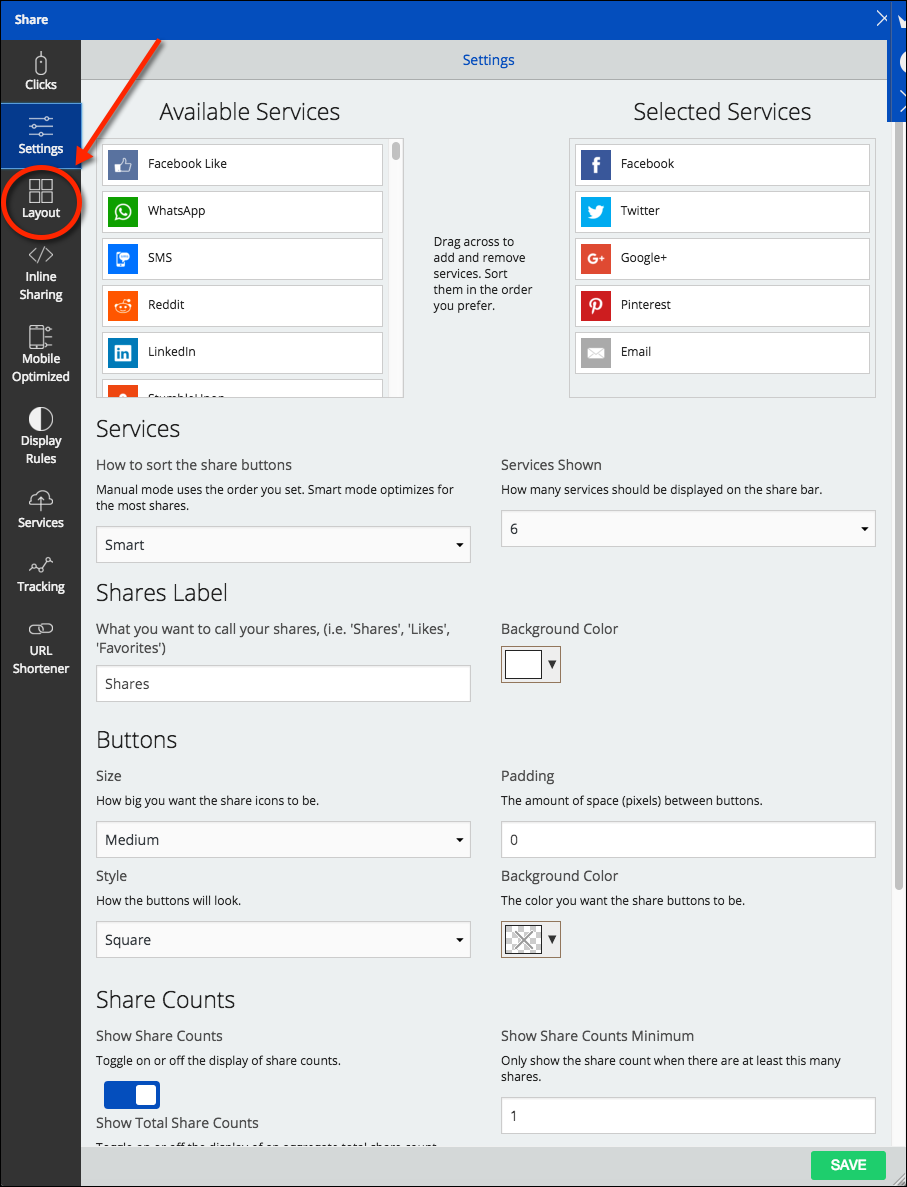
Remember to click on SAVE after making your changes.
Finally, click on the Layout icon on the left.
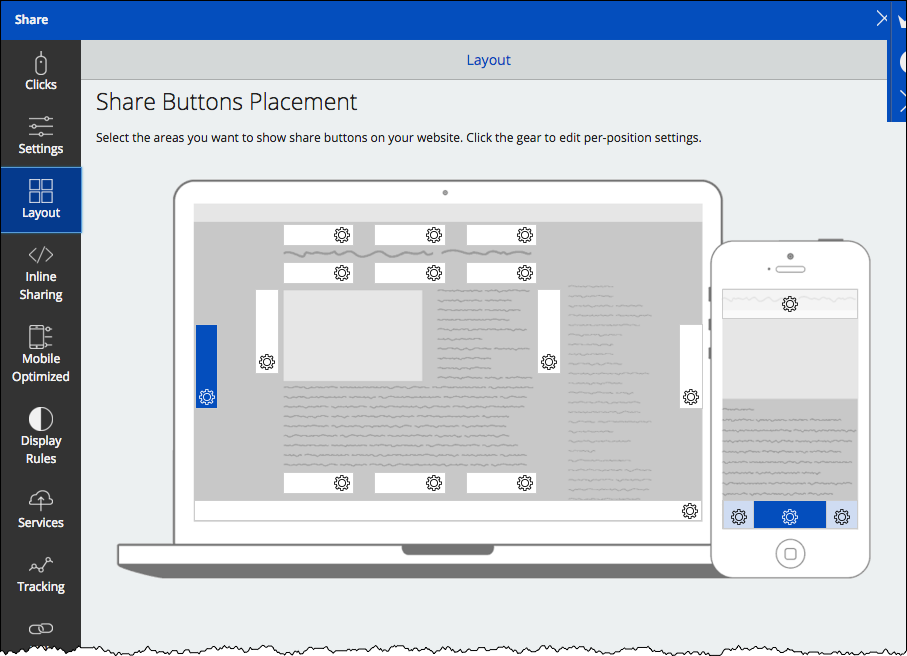
This lets you control exactly where the buttons are placed. As you can see, Sumome is mobile-responsive, and will automatically switch to a mobile-optimized layout when the screen is smaller than a certain size.
Once again, I’ll leave the default here, but you should feel free to experiment. As always, hit SAVE to make your changes take effect.
I’ll leave the rest of the settings alone for now as well.
Click on the “X” in the upper right of the Sumome box to close it.
View your site, and the Sumome sharing bar should appear wherever you placed it.
You may recognize it, as I use it on Ask Leo! as well.
Your site visitors can now easily share links to your site on their favorite social media sites.
♥
Configuring one plugin and installing two more, once again we’ve accomplished a lot.
Next up, analytics and webmaster tools: two services that help you understand exactly what your visitors are doing and what they care about, as well as getting feedback from Google on the health of your site.
Podcast: Download (Duration: 7:52 — 3.8MB)
Dear Leo,
You may be aware that on the WordPress.org site over 15% of Sumome reviews are one star.
Are these people totally misguided fools, or is there more to this?
I believe that the uncensored publication of independent consumer reviews is one of the most important benefits of the internet, and so I am reluctant to install Sumome until I better understand the reason for all these complaints.
Clearly some people are very happy with Sumome, but I would hate to be one of the unlucky ones – particularly if their comment about it being impossible to uninstall is correct.
Uncensored reviews are … interesting. There’s a counter argument that says if you see ONLY 5-star reviews you should also be extremely suspicious. I’m running with my personal experience across a number of sites and have been very pleased with the results. TYPICALLY when there is a plugin problem of any kind (applies to all) it’s an unexpected interaction with another plugin. Given the number of plugins in the universe that’s simply bound to happen. Had it happen just a week or two ago myself with another plugin I was testing out.
Understood.
However, before installing any potentially suspect software I will always do a system backup. That way you know that you can bet back to the pre-installation state rather than relying on an uninstall process.
Unless I have missed it you haven’t covered backing up the web site yet. Is this really easy, or should we wait for you to cover it?
I *just* wrote the article on backing up and it’s in my editor’s hands. Publishes this week or next. Spoiler: there’s a plugin for that. 🙂 A great one, actually, albeit not free. BackupBuddy.
As your proposed plugin its not free I decided to have a go at backing up using FileZilla for the Files and phpMyAdmin for the Database. It is relatively easy, although the database backup did take a lot longer than I expected, so I can see the attraction of having it automated by a plugin.
Anyway, I now feel a lot more confident about adding “experimental” plugins.
The fact that you’re comfortable in phpMyAdmin is fantastic … and not that common for most people. If I ever run across something that is free that approaches BackupBuddy in functionality I’ll be sure to mention it. Backups, though, are worth it in my opinion.