Today, we’re going to walk through the process of installing WordPress at our example site – askleoonbusiness.com – hosted at Bluehost. (As always, if you’re hosting somewhere else, the specific steps may differ, but the concepts should remain the same.)
Install WordPress
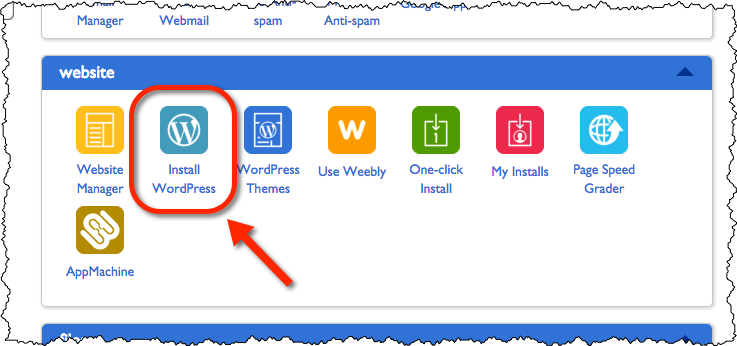
Log in to your Bluehost control panel. Scroll down and look for the conveniently labeled “Install WordPress” icon.
Click on that, and you’ll be taken to a page giving you the opportunity to pay someone else to do this for you.
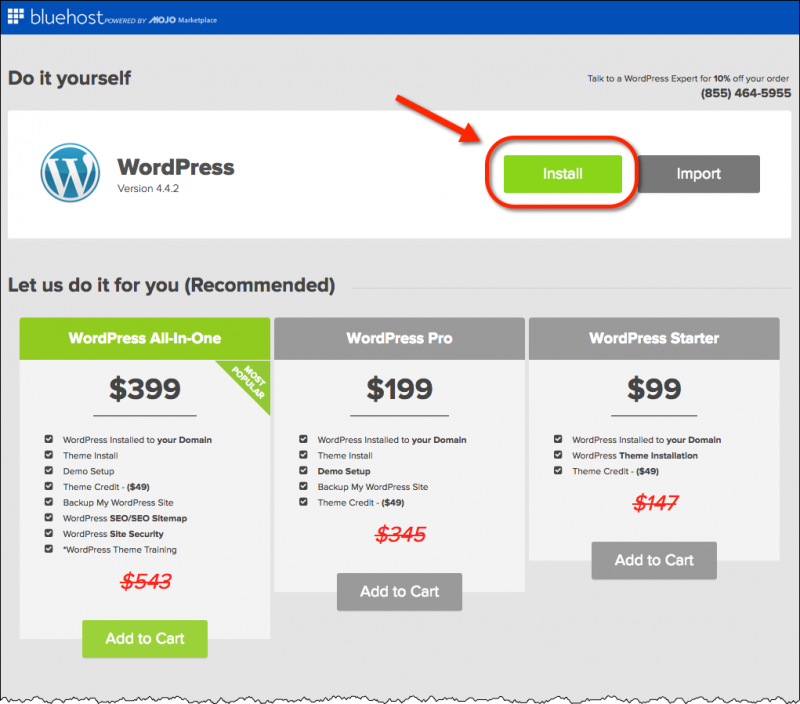
We’re all about the “do it yourself” here, so click on Install. The installer will ask you what domain you want to use.
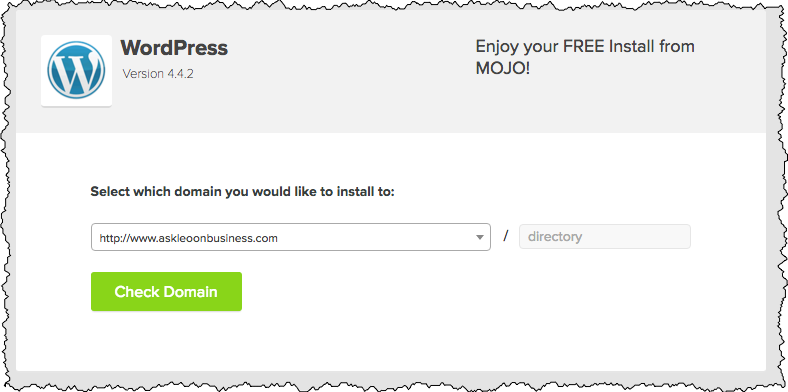
While this question may seem silly on the surface, you might recall that our package with Bluehost actually allows us to host multiple domains in our account. (You may also recall I indicated it was rather cumbersome to do so. 🙂 ) The default presented here should be just fine, as it’s the only domain we’re setting up and the only domain we care about right now. Click Check Domain.
After the check (I assume it’s checking to make sure you’re not about to overwrite something important), you’ll be shown a “Last step…” dialog.
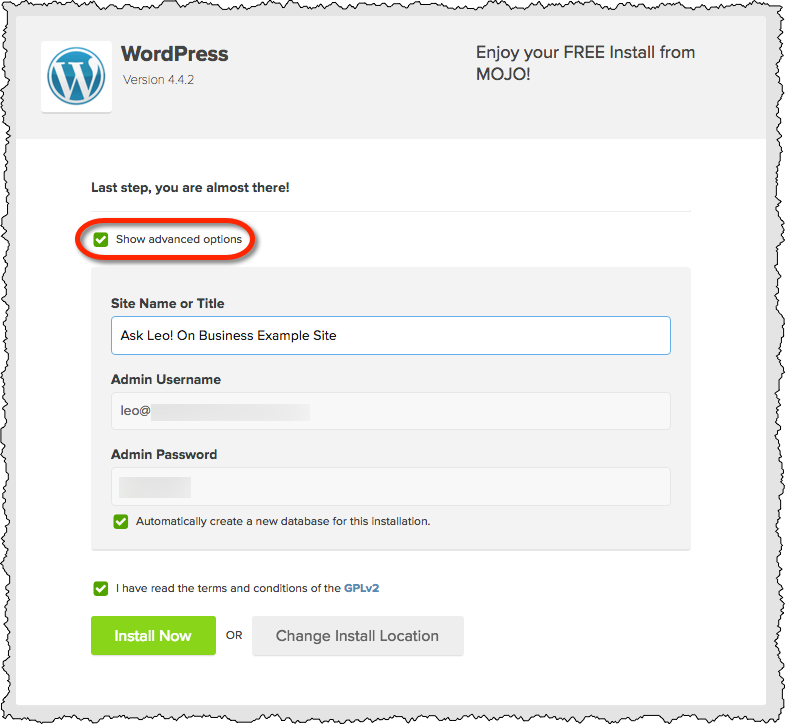
Click Show advanced options. In my opinion they’re not “advanced” at all, but rather something you should know and/or set.
- Site Name or Title. This will typically display at the top of every page of the site. You can change it later, but we might as well set it right here.
- Admin Username. This will default to the email address that is your Bluehost login. That should work just fine.
- Admin Password. This will default to an appropriately secure password. Save it somewhere.
- “Automatically create a new database for this installation.” should be left checked.
You’ll also need to check the “I have read the terms and conditions…” text.
Click Install Now. You’ll be given an option to go “theme shopping”.
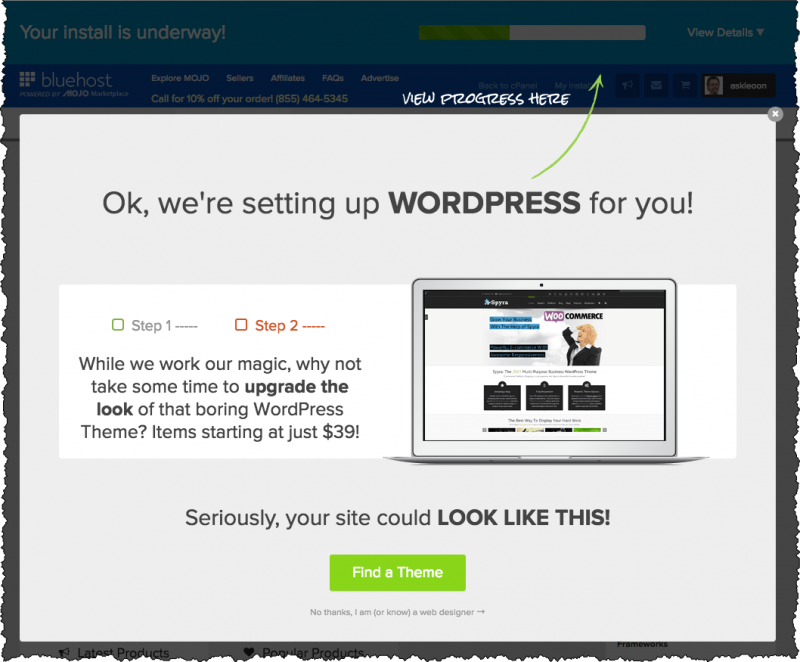
Click on the “x” in the upper right to close that. We don’t need to go shopping just yet. The bar at the top of the page will indicate the progress of the WordPress installation. It should be pretty quick.
When done, the top of the window changes color and notifies you.

Click on the View Credentials button. This take you to a “notification center”.
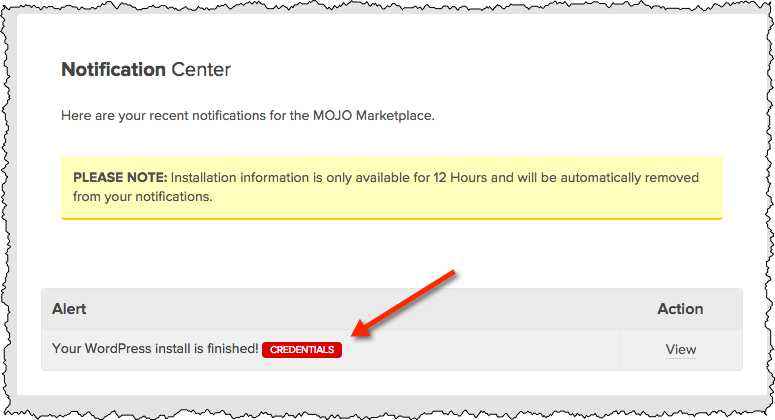
Click on the red credentials button to reveal more than just your credentials.
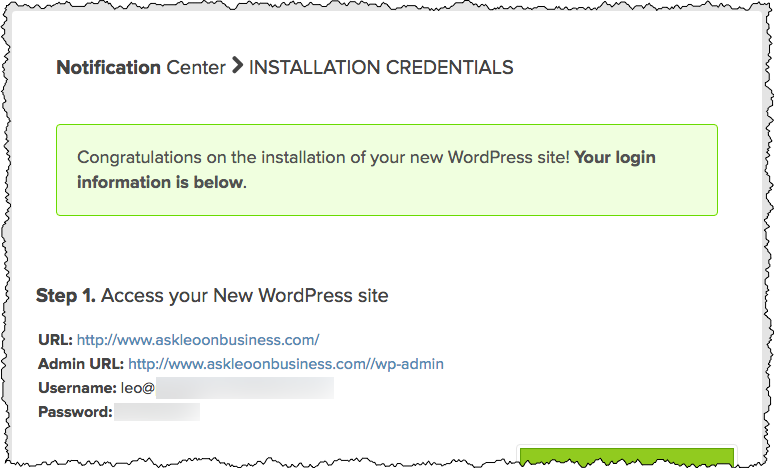
The reason I want you to see this – besides giving you a second chance to save your password – is to see the Admin URL displayed. That is the link you’ll need to go to in order to log in to your new WordPress installation.
In fact, if you go now to your website’s URL, you’ll see that the “Coming Soon” page, which was provided by the web hosting company, has been replaced with one provided by your new WordPress installation.
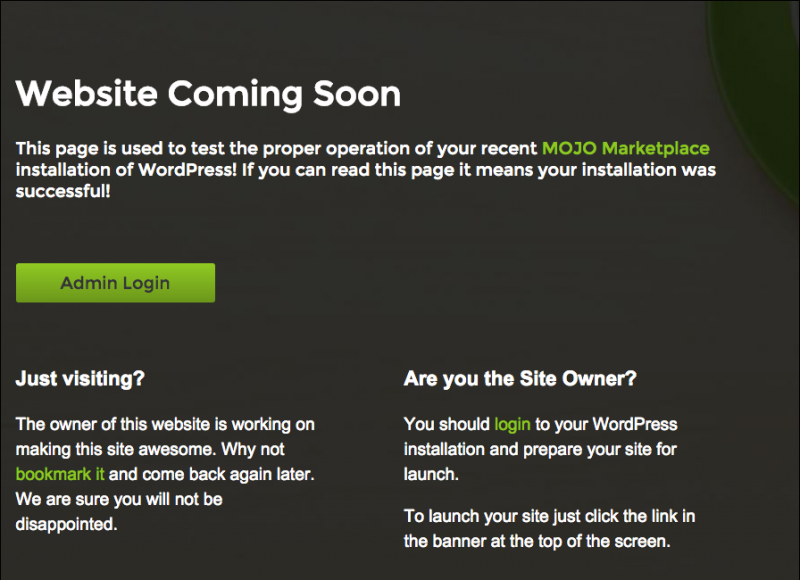
(Note that not all WordPress installations provide this placeholder. Many – perhaps even most – will simply display your site using default WordPress content.)
A note about log-ins
You now have two different log-ins for your site. It’s important to understand that they are for two different purposes.
- You use your Bluehost log-in to access your web hosting details, which includes all the features you find in your Bluehost control panel, such as setting up email accounts and the like.
- Your WordPress administrative login is where you go to make changes to your website’s content and appearance. We’ll get started on that shortly.
Logging in to WordPress
Click on that administrative link we saw earlier (or the “Admin Login” link on the “Coming Soon” page), and you’ll be taken to what will become a very familiar log-in.
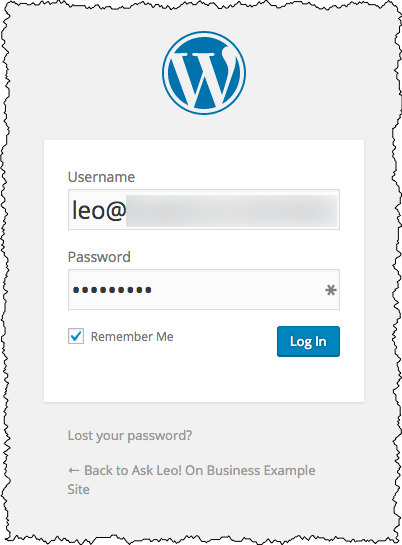
Enter your Username and Password, and click Log In. This will bring you to your WordPress dashboard.
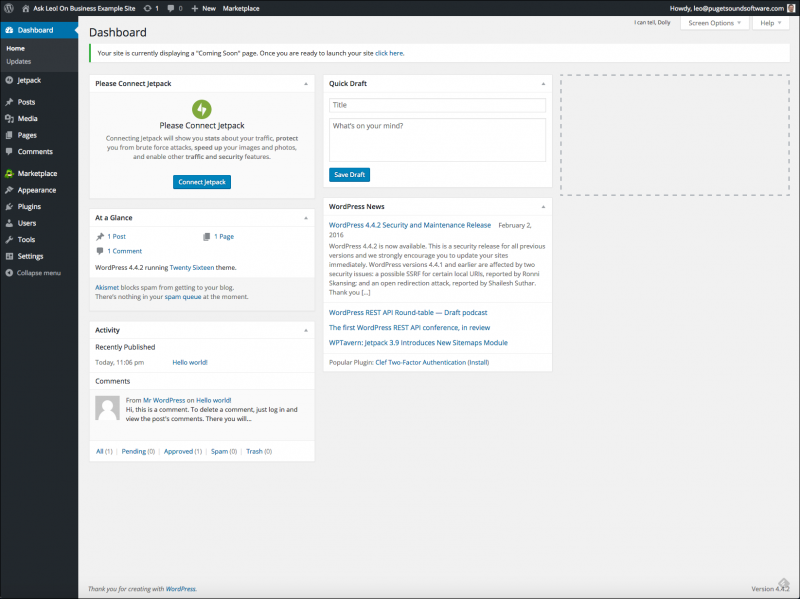
Once again, we’ve accomplished a lot. We’ve installed and logged into our new content management software, WordPress.
Next up, we’ll configure WordPress with some basic information, tweak a few settings, and make the site worthy of consumption – at least by search engines, who are eagerly awaiting your arrival.
Podcast: Download (Duration: 4:14 — 3.9MB)
Hi Leo,
I’ve installed WordPress and I’ve received an email from Bluehost asking me to send them a scan of my bank card, front and back, in order to be able to continue any purchases with them. Is this normal or could it be a scam?
Geoff Wright
Wow. I’ve never heard of such a thing. I would call them up and confirm. I’d love to hear what they say. If it’s legit I want to understand their reasoning. It seems extreme.
Hi Leo, the email from BlueHost asking for a scan of my bank card is genuine and a part of their account verification process for clients living outside of the USA. I just cleared it up with a ‘phone call.
Regards,
Geoff Wright
Ah. That makes sense. Didn’t check to see where the comment was posted from. 🙂
Dear Leo,
I am trying to follow your series but have become stuck at this point. I installed WordPress as recommended but your suggested URL does not get to an admin page. Instead I had to use http://IP/~username. This brought up the black “Website Coming Soon” page. However, the green “Admin Login” button does not work – it returns the “Not found” error message.
I am also rather fed up that every link which looks as if it might help or provide information takes you to a marketplace trying to sell you things for many tens or hundreds of dollars. Is this the norm for Bluehost and WordPress?
PS – I have not (yet) been asked for a copy of my credit card, but if I am I may well cancel my account.
Have you set up DNS of your domain name to the IP address assigned to your host? http://IP/~username/wp-admin ought to work – but I wouldn’t do it. I’d get the domain name thing figured out first.
My recommendation is that you simply chill on the upsells … they’re part of what keeps this service as inexpensive as it is. Ignore ’em all and move on. Particularly after things are set up you’ll rarely see them.
Thank you Leo – spot on. I double checked the DNS settings and although the IP was correct the Type was still set to Frame. I changed the Type to A (again) and this time the change stuck. That solved the problem.