Regardless of what content management system you run, your website will come under attack. Hackers will look for ways to compromise your site and use it to send spam, deliver malware, or other things you don’t want to be associated with.
I continue to recommend WordPress as starting point. It represents a balance between complexity and functionality, is incredibly extensible, and has perhaps the largest pool of available resources of any CMS.
But it has a problem; I call it “the Windows problem”.
Because of its popularity, WordPress is the largest target for malicious activity on the web. Hackers are constantly attempting to discover and then exploit vulnerabilities in WordPress and its plugins.
As a result, it’s important that you keep your WordPress secure. That means keeping it, and all plugins, as up-to-date as possible, but it also means taking extra steps to improve your security even more.
iThemes security
When we first installed WordPress, I had you take one of those steps: to install the iThemes Security plugin. It’s time to dive a little deeper into that plugin, and look at some of the specific settings I recommend to keep your site safe and secure.
I’m not going to cover all possible settings – there are simply too many – but I do want to point out several specific settings in the plugin that are, in my opinion, important to alter or at least be aware of.
Global settings – notification email
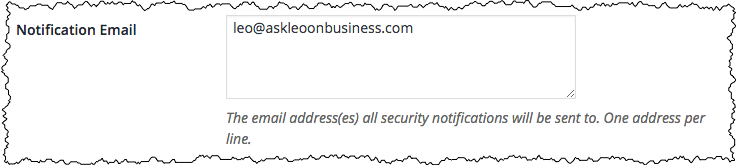
IThemes Security will send you an assortment of notification emails for security-related events. It’s important that those emails have somewhere to go.
While I don’t show it here, there’s actually a strong argument that the email address be hosted on something other than your website’s domain. While uncommon, if hackers compromise your website, it’s possible they might also compromise your email and block these notifications. What’s more important, however, is that the email address be one you check regularly.
Global settings – blacklist repeat offender

The single most common threat a WordPress site faces is the slow, continuous, brute-force log-in attack. This is where an attacker simply keeps trying to log in over and over and over again with common log-in names and passwords. There are a variety of settings related to this attack, which should all be enabled by default. This setting in particular will cause the IP address of the offending computer to be blacklisted in addition to the user account, should a user account experience too many failed log-in attempts.
404 detection
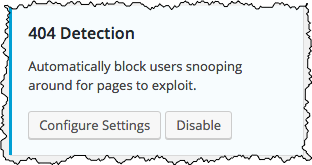
“404” is the error code for “page not found”. It represents an attempt to reach a web page on your site that doesn’t exist.
Attackers often use this to probe for pages, typically related to less-than-secure plugins, that – when they exist – have a vulnerability. If the page is found, the attacker exploits the vulnerability.
A series of these kinds of “probes” from a single source looking for pages that don’t exist typically indicate an attack. Click Enable, if shown, to enable 404 detection. Once you click Enable, the “Configure Settings” button will appear, but unless you have other reasons to change them, the default settings are just fine.
Local brute force protection
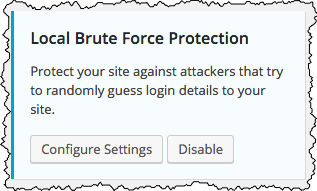
This setting turns on the monitoring of failed logins. As I mentioned above, one of the most common attacks on almost all WordPress sites is the ongoing brute-force log-in attempt. This will lock out any account that has had too many log-in failures in too short a time.
File change detection
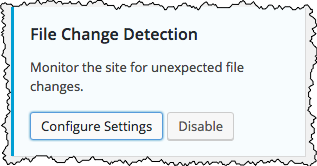
File change detection notifies you if a hacker somehow gains access to your site and makes changes you didn’t authorize. Typically this means they’ll have added files to, or altered files on, your site.
While I recommend you enable this setting, it’s possible you may initially be overwhelmed a little by the notification. The problem is that files can also change legitimately. The most obvious case is when you upload an image to your site, or update a plugin or WordPress itself. In both of those cases, at least, you’ll recognize the change. Depending on the other plugins on your site, however, you may also be notified of additional changes that are also completely legitimate. Once you begin to recognize these legitimate changes (or explicitly exclude them in the Configure Settings section), this can be a useful warning should something happen to your site.
System tweaks – assorted
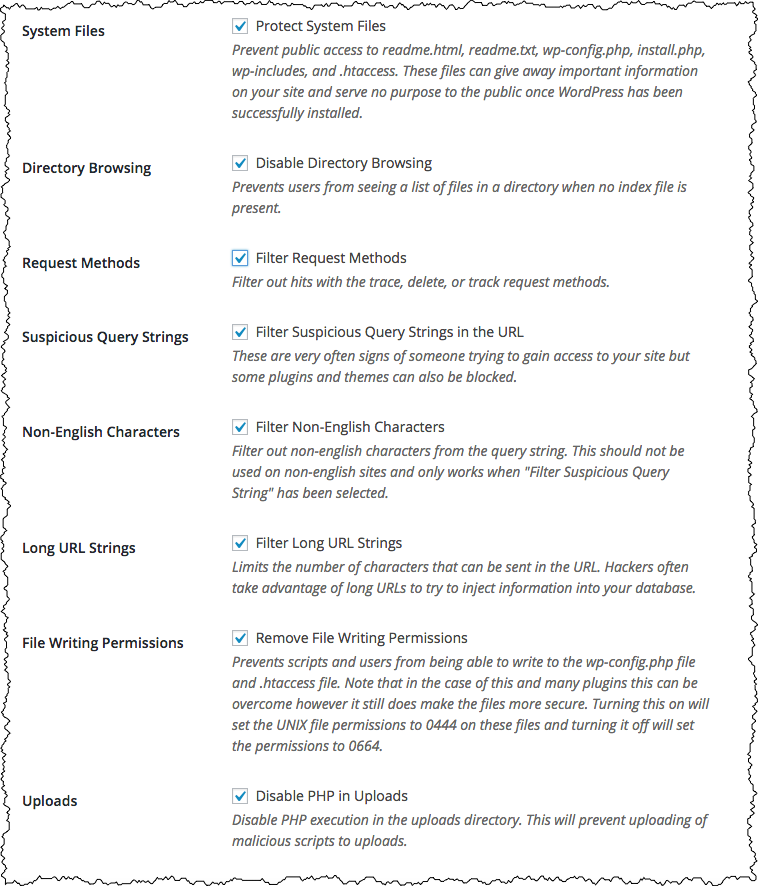
Enabling System Tweaks means the Configure Settings page will include an assortment of additional filters that can be applied to the requests made of your web site.
I turn them all on. Most web sites will work just fine with all this filtering in place, and it does represent a variety of additional security measures.
The only exception you may want to consider is “Non-English Characters” if, indeed, your website uses non-English text.
WordPress tweaks – XML-RPC
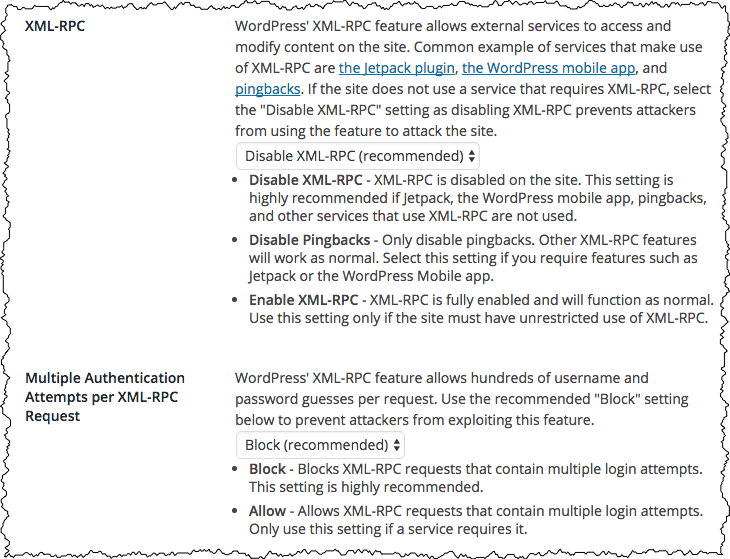
Once you enable Wordpress Tweaks, the Configure Settings page will offer an assortment of additional settings. There are two, in particular, that I’ve found very important.
XML-RPC is a form of remote access for your WordPress installation. “RPC” actually stands for “Remote Procedure Call”, and it’s a way for other programs and services to access content on your site.
If at all possible, XML-RPC itself should be disabled. If, on the other hand, you use Jetpack, or the WordPress mobile app, you’ll need to only disable pingbacks. Pingbacks are a way for other websites to notify your website, “hey, we linked to you!”, in the hopes of getting a link back, much like a comment. Also much like comments, pingbacks are heavily abused by web spammers and should simply be disabled.
Multiple Authentication is actually, in my opinion, a design flaw in the XML-RPC protocol. In short, it allows a brute-force attack of hundreds of different log-in attempts to be carried out in a single XML-RPC request. I know of no reason to allow this to remain enabled.
Hide Backend
If you don’t see Hide Backend in your list of iThemes Security settings, click on the “All” or “Advanced” item in the upper right.
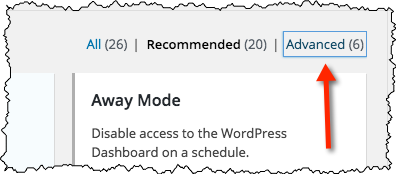
Then click on Enable and Configure Settings for the feature.
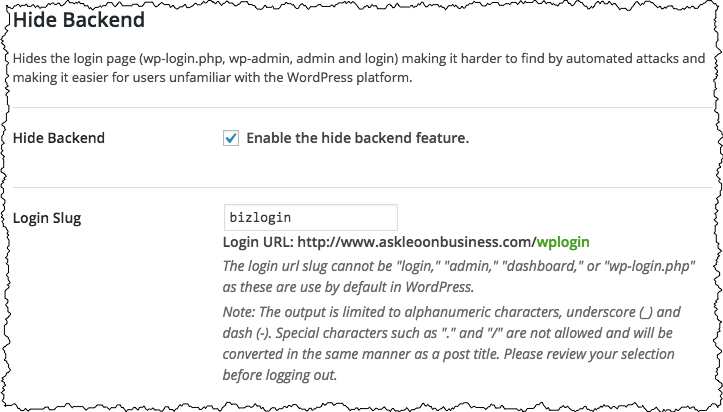
By now, you probably know that the default address for the administrative functions for any WordPress site are at “wp-admin” within that site. For example, the administration interface for our Ask Leo! On Business example site is at:
askleoonbusiness.com/wp-admin
The problem, of course, is that every hacker on the planet knows this as well, and uses it as the gateway to begin probing the security of your site and administrative functions.
“Hide Backend” allows you to change it to something else. I’ve changed it to be askleoonbusiness.com/bizlogin.

Instead of visiting the wp-admin URL to login, I now visit that URL instead.
There are two caveats to using this feature:
- If you run a membership site that uses WordPress’s own user accounts, as most do, you’ll either want to skip this feature, or recognize that you’ll be making the URL public to everyone who might need to log in.
- If you suddenly get an error accessing one of your administrative pages, you may need to return to this page to log in again. WordPress may log you out automatically for a variety of reasons.
I recommend turning this on if at all feasible. It blocks a wide variety of hack attempts.
Other WordPress security plugins
If iThemesSecurity isn’t for you, for whatever reason, there are a few alternatives.
Sucuri is a respected company that deals with website security on a variety of platforms, including WordPress. They have a WordPress security plugin that is highly regarded.
For many years, before I stumbled on to iThemes Security, I ran a simple plugin on Ask Leo! called Limit Login Attempts. As its name implies, it prevents brute force attacks by limiting the number of times an incorrect password can be specified.
More on WordPress security
Due to its popularity and the importance of the topic, there’s a lot of information on WordPress security out there. Two of my most trusted resources include:
- Going straight to the source, the WordPress folks have an article on Hardening WordPress. It can get technical at times, but it covers many of the issues and offers recommended actions to take.
- This post on WordPress security by Yoast. You may recall Yoast as providing the SEO plugin I recommend, and they’ve written up a great list of steps to take to secure your WordPress site. (Many of those steps are covered by iThemesSecurity, which is nice validation thereof).
As you might expect, a Google search of “WordPress Security” will return many, many, many results, and can provide for hours of education if you’re so inclined. (Setting aside the advertisements, at this writing the first two pages of results all appear to be quite legitimate. As with any search result, of course, caution is advised, and your results will almost certainly be different than my own. If you’re just not sure, run with the Yoast article above.)
Podcast: Download (Duration: 10:01 — 4.6MB)