So far, we’ve purchased a domain and set up hosting. We haven’t set up our web site yet, because we need to do something first that I believe is more important.
We’re going to set up an email address so you can start using it right away.
In this post, I’m going to walk through the process of setting up an email account using our example webhost, Bluehost. I’ll also show you how you to configure an email program, like Microsoft Office’s Outlook, to access that email. For fun, we’ll also access the email account using the web interface included in your hosting.
Create the account
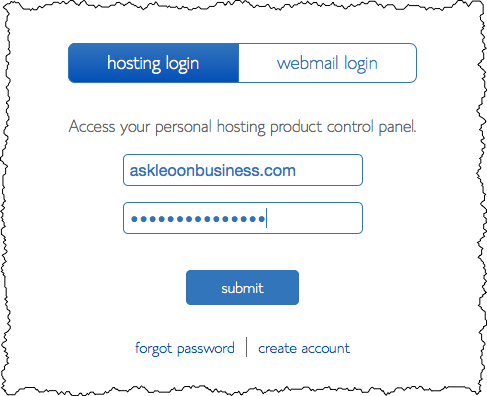
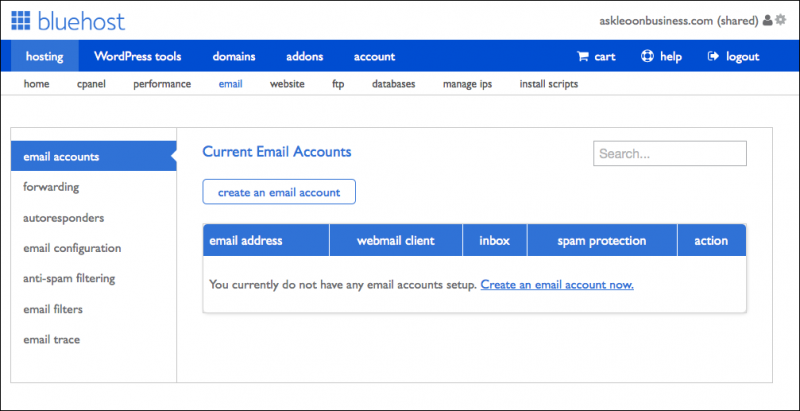
Log in to your webhosting account. At the upper right of the Bluehost homepage, you’ll see a “hosting login” link. Click on that. Log in with your domain name (which is used as your account ID), and your password. This will take you to the dashboard for your hosting.
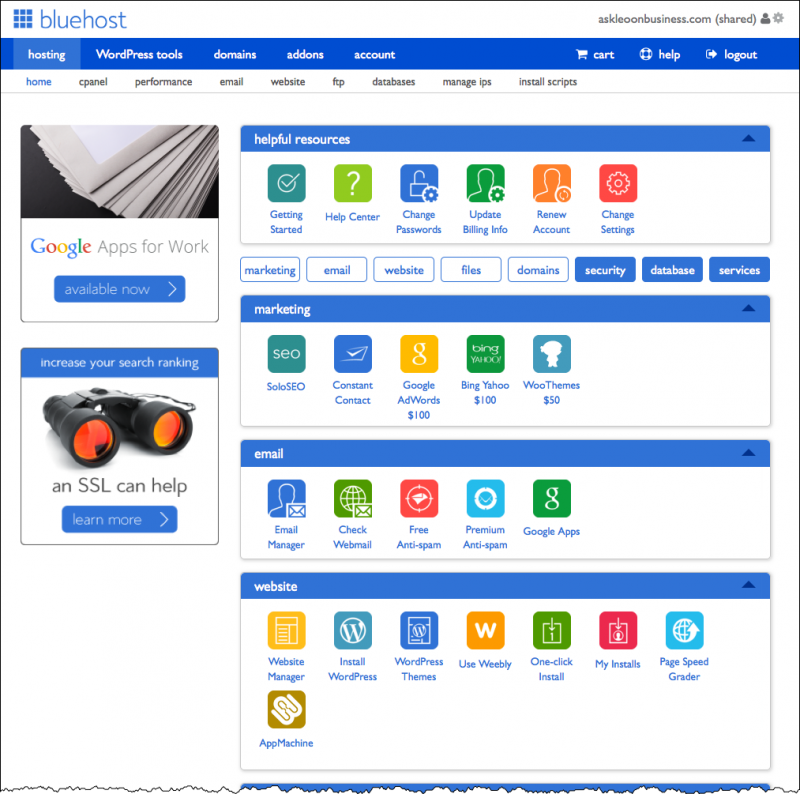
Bluehost will load.
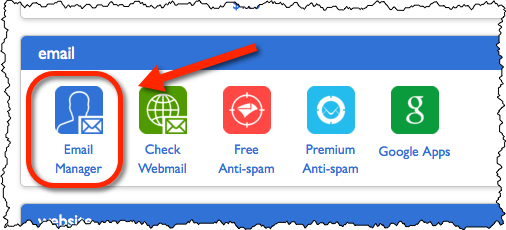
Locate and click on the Email Manager icon.
The email manager contains several options. Click on create an email account. (If you have no email accounts previously specified, you may need to click on the “Create an email account now” link, for some reason.)
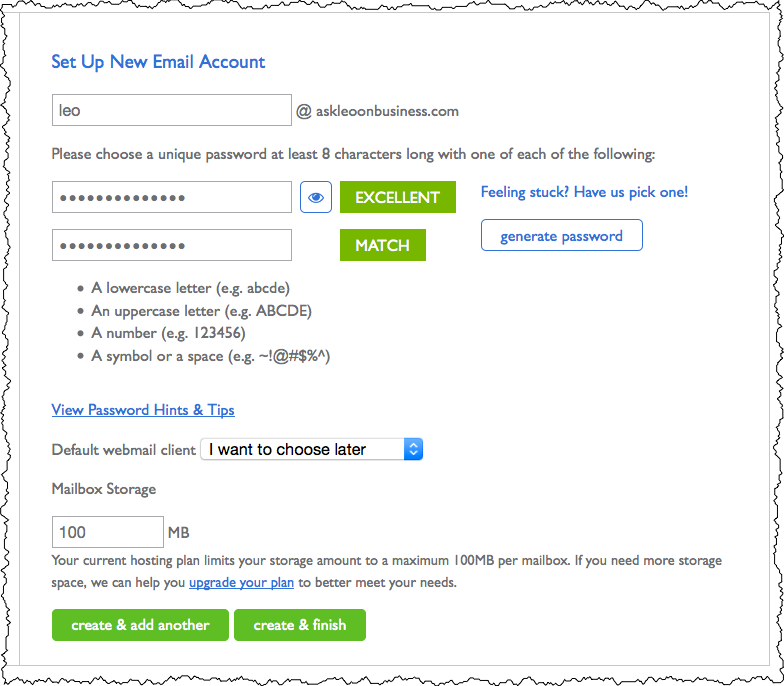
Specify the email address you want to create on your domain. My domain is askleoonbusiness.com, so the email address I’m going to create is leo@askleoonbusiness.com.
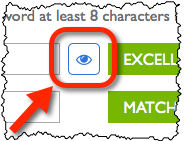
Specify a password that meets the indicated requirements, or click on generate password to have the interface generate an appropriate password for you. To see the password that’s been generated, click on the small eye icon next to the first password line.
Save that password somewhere safe.
Click on create & finish.
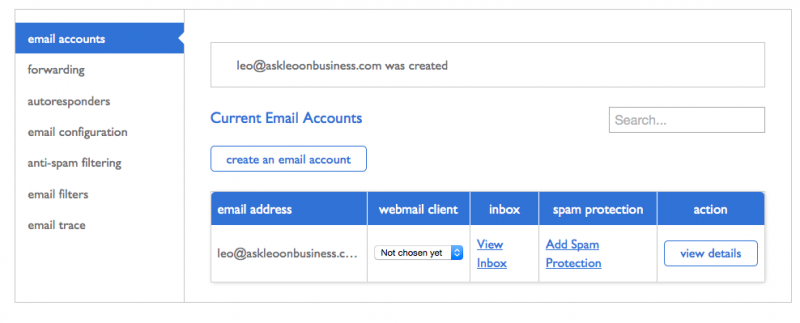
You now have an email address! Email sent to that address will be collected for you here, on your hosting server.
Get the configuration settings
Next up we need to collect the information to allow you to configure your email client.
Click on email configuration in the lefthand column.
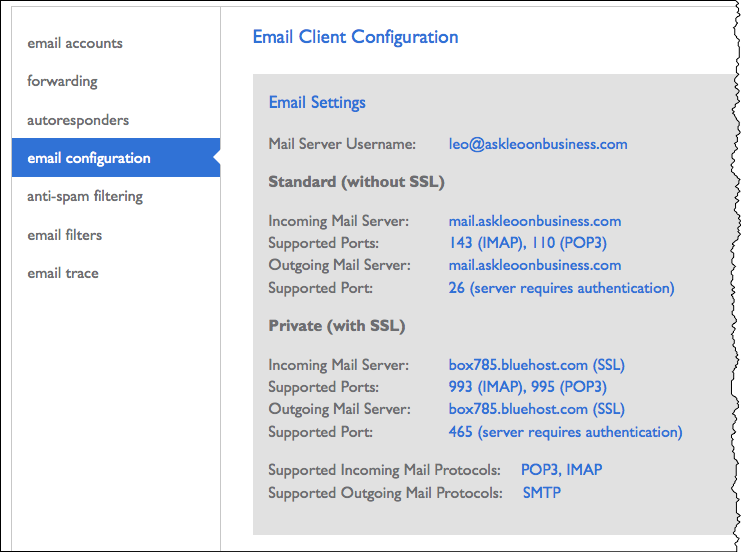
There are a couple of items to note about the proposed configuration.
- Use Private (with SSL) whenever possible. SSL will encrypt the connection between your mail program and your mail server, keeping it safe from any prying eyes.
- If you use Standard (without SSL), the domain names may be wrong. The proposed “Standard” configuration here is to mail.askleoonbusiness.com. At this point, that domain – more correctly, the “mail” subdomain of “askleoonbusiness.com” – doesn’t exist. Attempted connections to it should fail. There are two solutions:
- Create a DNS entry for the “mail” subdomain. That’s done back at our registrar. Much like we set up the mapping from our domain name to an IP address, we would add an additional mapping of the “mail” subdomain to the same IP address. Managing DNS entries like this is an advanced topic that, to be blunt, you just don’t need to know now, and may not need to ever know.
- Ignore the recommendation. Use your base domain name instead. In my case, I would simply use “askleoonbusiness.com”. This is the approach I recommend if you can’t use the SSL connections.
I do recommend you use SSL when possible, but it’s possible that anything from your mail program to your internet connection could interfere and make it not work. If that happens the standard configuration would be the approach.
This configuration information is important, and you’ll want to remember how to come back and find it. It’s the information you’ll need to configure your email client, which we’ll do next.
And lest you worry, I am indeed intentionally skipping several of the utilities like forwarding, auto-responders, and, perhaps most notably, anti-spam filtering. I’ll come back to those topics as appropriate in future posts.
Configure Outlook
This example uses Outlook 2013, but as always, the concepts apply to most any version of Outlook, as well as other desktop email clients. (A reminder: Outlook.com is a webmail service, not a desktop email client, and is completely unrelated to the Outlook that comes with Microsoft Office. It’s the latter that we’re working with here.)
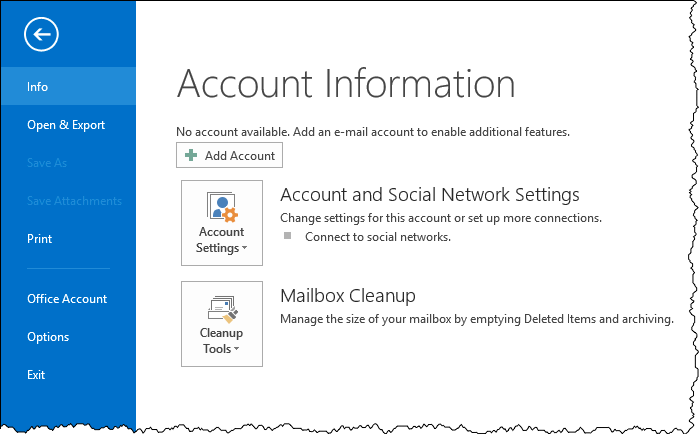
In Outlook, click on the File item in the upper left. This will take you to an “Account Information” page. You may already have existing accounts if you’ve been using Outlook for other email addresses. Click on Add Account.
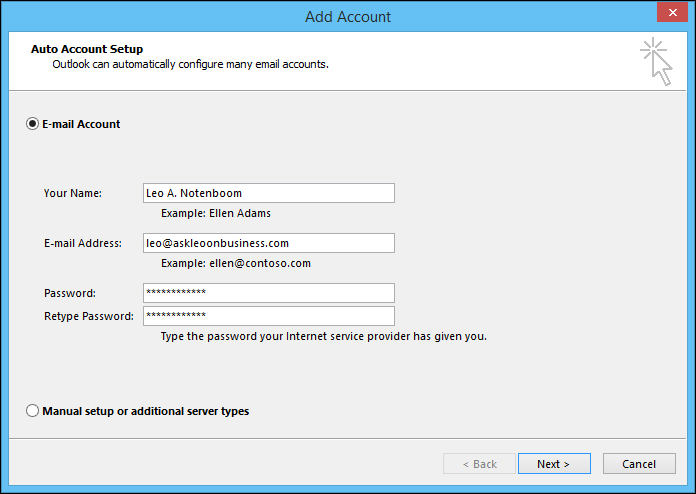
Now, automatic setup is a great idea – in concept. To be completely blunt, I have yet to actual encounter a scenario where it works, particularly with the various web hosts that may or may not provide the auto-config service. I’ve had bad luck even with those that claim to, like Bluehost.
So, instead, click on Manual setup or additional server types and click Next.
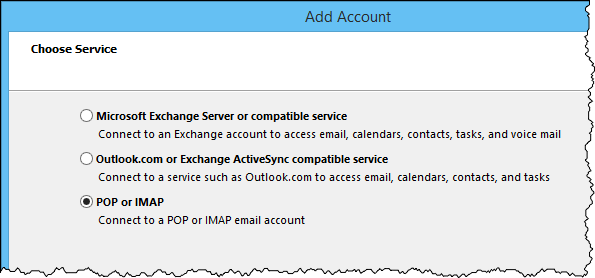
Select POP or IMAP and click Next.
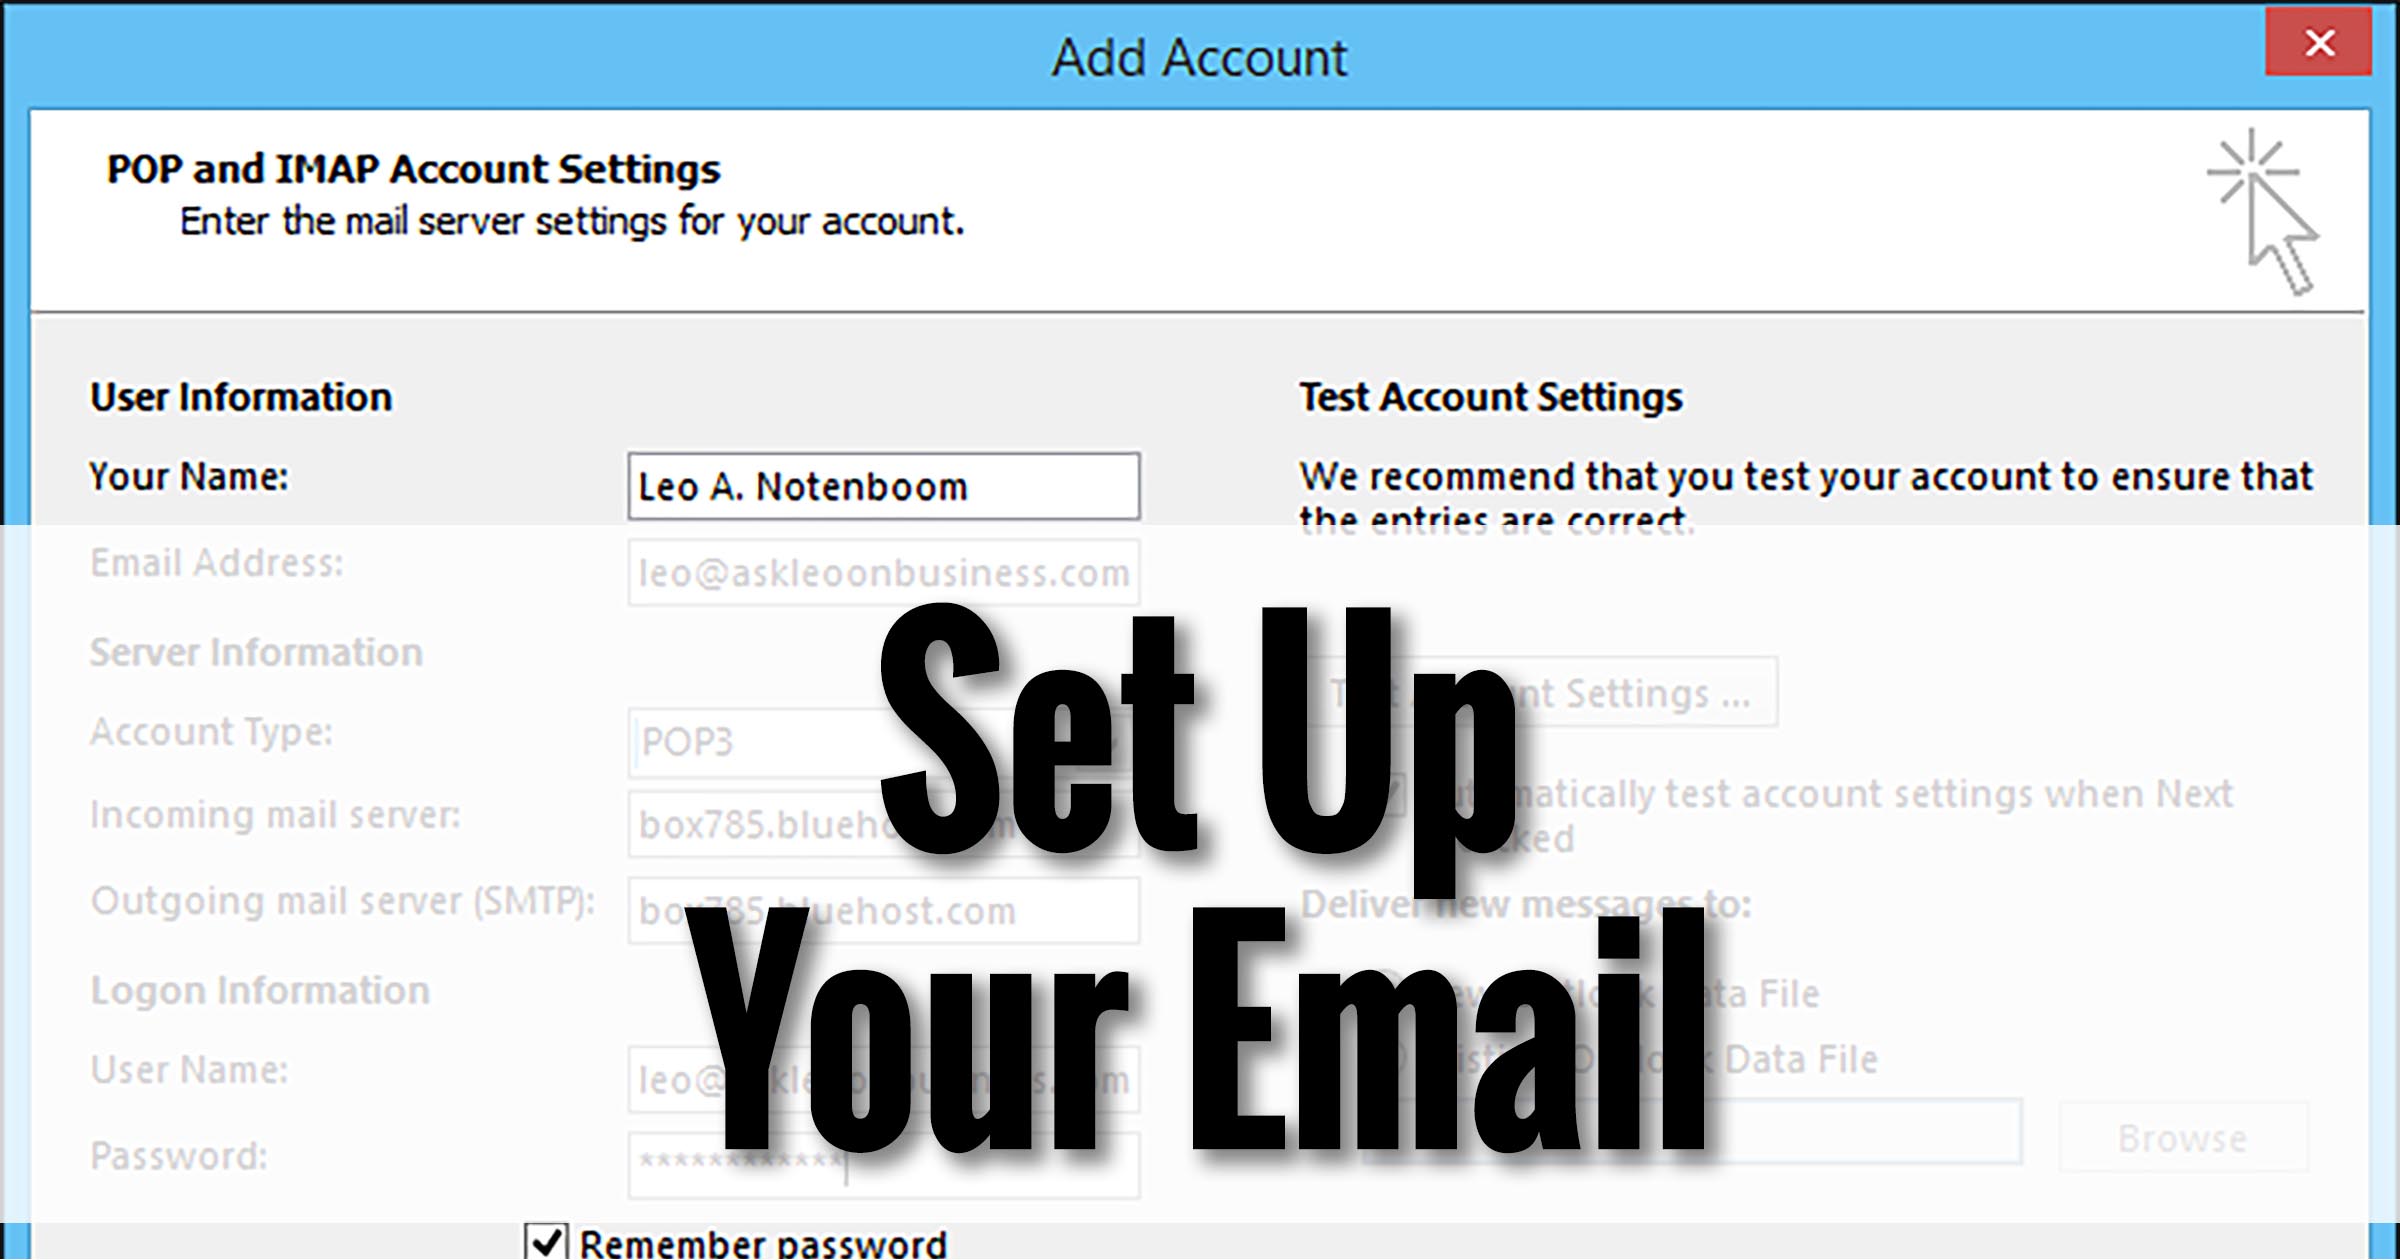
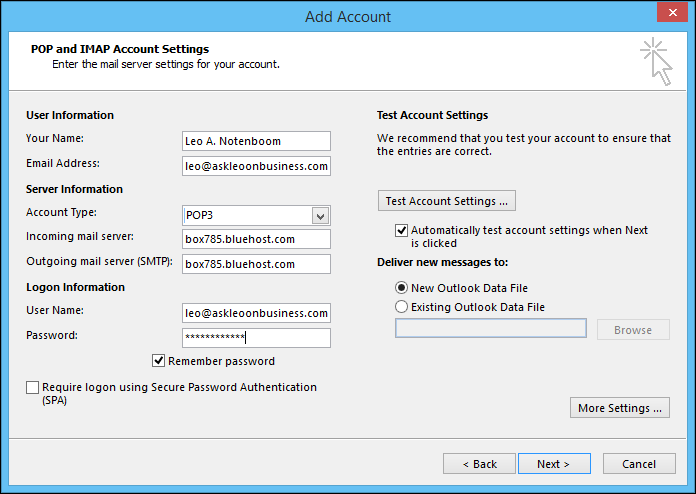
You’ll arrive at the main Add Account dialog box for manual configuration. Add or change the information requested:
- Your Name: Enter your name as you want it to appear in the “From:” field of the email you send.
- Email Address: Enter the email address you just created. In my case I’ll enter leo@askleoonbusiness.com.
- Account Type: Change or set this to POP3.
- Incoming and Outgoing mail server: set this to the server name specified by the web host. Since I’ll be setting up an SSL connection, I’ll specify the box785.bluehost.com that was displayed in the email configuration information that I got earlier.
- User Name: From the email configuration, typically this will be your full email address.
- Password: The password that you set and hopefully saved somewhere.
Click on More Settings.
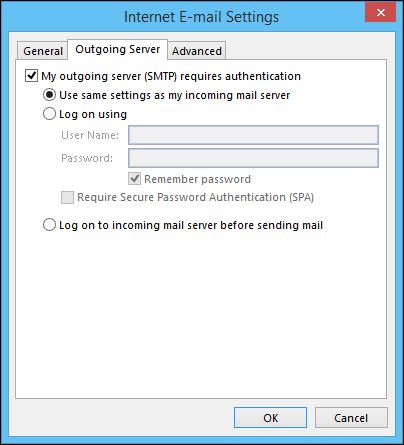
Click on the Outgoing Server tab. Once again, use the information from your host’s email configuration. Typically you’ll check “My outgoing server (SMTP) requires authentication”, and, unless told otherwise, “Use same settings as my incoming mail server”. Click on the Advanced tab.
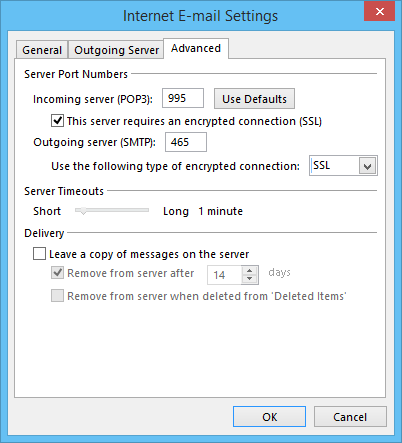
Make certain the configuration here matches the configuration specified by your web host. In my case that means:
- Incoming server (POP3): port 995
- This server requires an encrypted connection (SSL)
- Outgoing server (SMTP): port 465
- Use the following type of encrypted connection: SSL
I’ve also unchecked “Leave a copy of messages on the server”. My web host offers only 100 megabytes of email storage, and I expect more. Leaving a copy could cause email sent to me to bounce if I reach this limit. (I’ll address how to deal with large amounts of email in an upcoming post.)
Click OK.
Click Next, and Outlook will test your email settings.
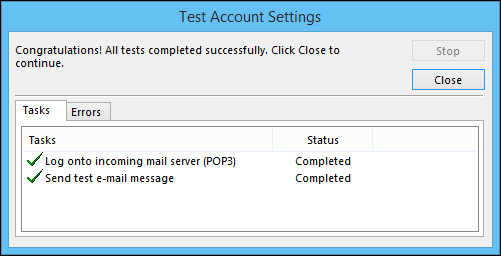
Assuming they work, you’re now ready to send and receive email on your new email address in Outlook; congratulations!
If the test fails, note which function failed (sending a test or logging into incoming server), and double check that the settings you’ve specified match the settings that you were given from the web host.
Access Webmail
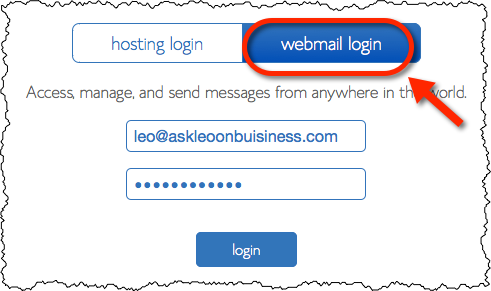
You may have noted when you logged in to Bluehost there was something about logging in to webmail. I want to show you that as well. It’s not as pretty and fully-functioned as your own dedicated email program, or some other web-based email services, but it’s handy to know about, accessible anywhere with an internet connection, and requires almost no configuration on your part.
Return to Bluehost and click on the webmail log-in link in the upper right. Click on webmail login, enter your email address and password, and click on login.
This will take you to an (often ugly) front-end for web-based email services, including three different webmail interfaces. In addition, you also have access to changing your email password, as well as a couple of other administrative items.
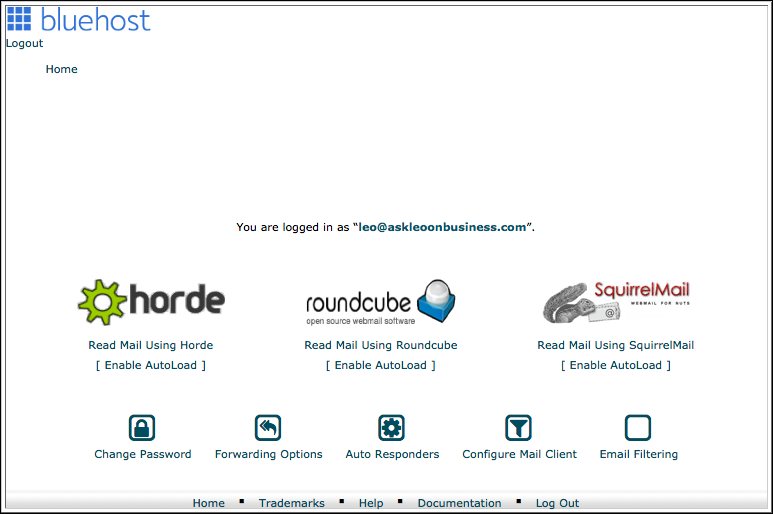
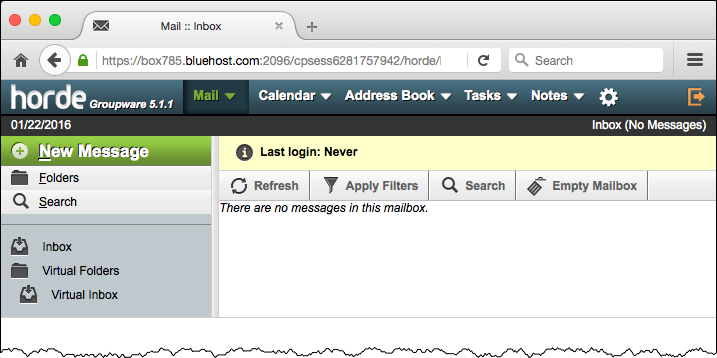
I typically use the Horde email front-end.
Honestly, each of the webmail interfaces have their pros and cons. It’s really a matter of taste and which one seems more intuitive to you. If you plan to use this webmail interface often, you might want to try each and see which one feels more natural.
♥
Whew!
We’ve accomplished a lot today:
- Created an email account.
- Retrieved the configuration information for that account.
- Used that information to configure Microsoft Office Outlook to be able to send and receive email on that account.
- Accessed webmail.
More accurately, we’ve created your branded, professional-looking email-address-for-a-lifetime.
Start using it!
Our next step with respect to email will be my recommendation to solve the capacity, spam, and ugly-webmail problems, all at once, by accessing your email a little differently.
Podcast: Download (Duration: 9:46 — 8.9MB)
I appreciate your input and directions. I have owned a domain name for years and never considered using it for our email address. Actually I did not know that this was a possibility. We have changed ISP several times over the years, for various reasons, with the chore of sending our new address to over 100 personal contacts, hoping that everyone would remember to update their contact list. This truly makes sense and I thank you for your input.
You don’t mention anything about setting up a catchall@{yourdomain}.{topleveldomain} address. It’s useful in that it fields all email sent to your domain. Especially useful if people know your domain name from your website, but don’t know the specific email address to send it to. For example, something like information@{yourdomain}.{topleveldomain} when you haven’t set it up to receive from that address. Catchall allows you to receive everything. On the negative side, using catchall opens you up to shiploads of spam.
If you don’t use catchall it might be a good idea to set up your account to receive emails sent to
info@{yourdomain}.{topleveldomain} or
webmaster, contact office admin etc. as people often send to those user names when they don’t know which one to send to.
I’m not a fan of catchalls. As you say, they’re a magnet for spam, and they can be a time-suck if you actually intend to look for the occasional non-spam email that gets sent their way. I’d rather bounce a message sent to a bad or non-existent email address. More importantly, your website should make it clear exactly what email address people should be using. (That, and yes, a few “standard” email addresses can also be a good idea, and perhaps a topic for an upcoming article.)
Hello Leo,
I’ve set up my mail to be forwarded to my Gmail account but when I receive messages they have a red unlocked padlock and say “mail2world .com didn’t encrypt this message”. Does this mean that I haven’t set it up correctly?
Thanks.
Geoff Wright
No, if you’re getting your mail it’s fine. That’s a new Gmail thing that doesn’t mean what most people think it means. I would (and do) ignore it.
Hey Leo,
I setup my email in Outlook 2013 according to your steps ( but for outgoing server(SMTP), I use TLS encryption, port 587).
Then I sent an email to a Gmail account.
The recipient saw that there is a Red Lock Pad in the email, with security warning “Bluehost.com did not encrypt your message”.
Any solution for this? I gone through many forums but still can’t find the solution.
Really appreciate your help.
That little red padlock is annoying. I don’t believe it has anything to do with how your connection to Google’s mail server itself is configured, and is largely something that’s outside of your control. All color aside, I don’t consider it a red flag, I don’t consider it an issue, and am advising people to ignore it for now.
Yeah. Agree that the little red padlock is very annoying.
I have contacted Bluehost support but they just pointed me to some tutorial to setup the email. Unfortunately they didn’t solve my problem.
Besides, setup of ingoing and outgoing mail server (with SSL), we should use boxXXX.bluehost.com or mail.yourdomain.com? The official tutorial asked us to use mail.yourdomain.com for SSL: https://my.bluehost.com/cgi/help/outlook-2013. BlueHost support also said the same.
But I think use boxXXX.bluehost.com is correct.
This is a bit confusing for me.
Leo, thanks for the great tutorial.
Again: ignore Gmail’s little red padlock.
When using SSL you must use the bluehost server names, not your own.
🙂
Okay. Thanks 🙂
Leo, I have talked to Bluehost support again, and they start investigating/ solving it.
The support said hopefully the issue can be solved soon.